


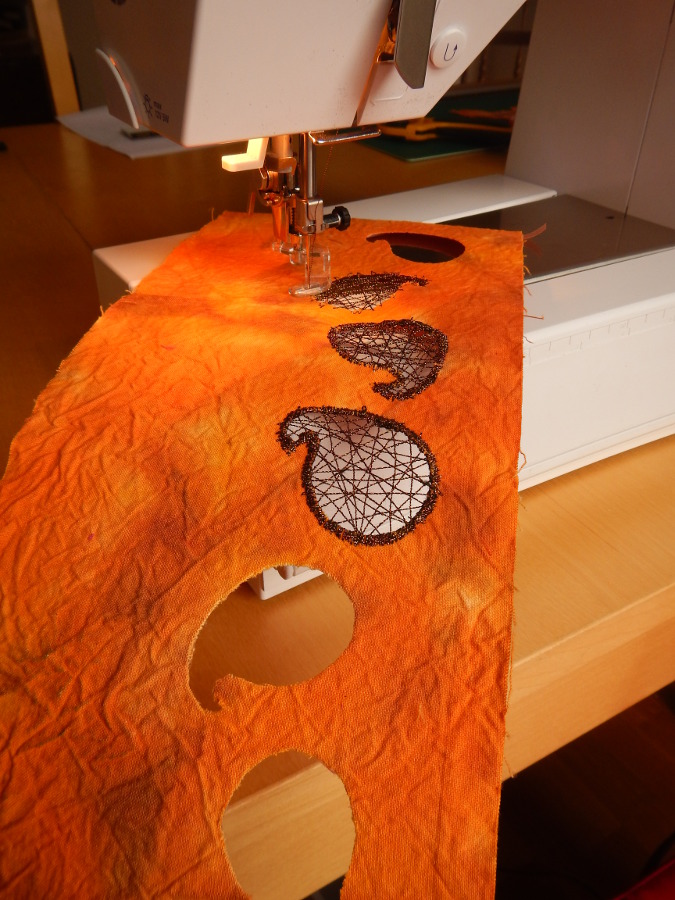
 I’ve been trying out some of the experiments that I mentioned in my previous blog post. Last time I wrote about making lampshades using batik-dyed fabric. This week I’ve been playing with tea-lights, using a cut-away technique. I’ve used a ‘kit’ from Needcraft for the structure. This provides you with a top and bottom ring and a plastic stick-on backing that you apply the fabric to before assembling it all. My experiment was to see whether the backing plastic could be cut away and stitched into in the same way as pelmet vilene. It’s a lovely technique which gives you a lacy effect over the holes. It’s quite strange to stitch off the edge of the hole with no fabric or soluble fabric, and just carry on stitching ‘in the air’ until you reach the other side.
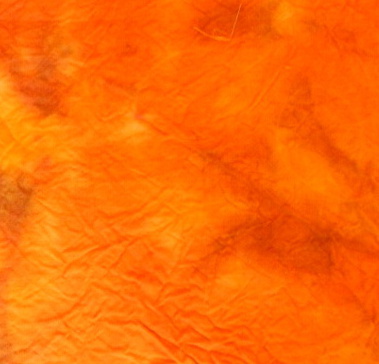 The fabric is space-dyed cotton. Yes, it was deliberate to leave the crinkles in (in fact I scrunched it while it was wet to make it more pronounced). The reason for that is that later on I will highlight the scrunches, either with metallic foil or with treasure-gold highlighter.
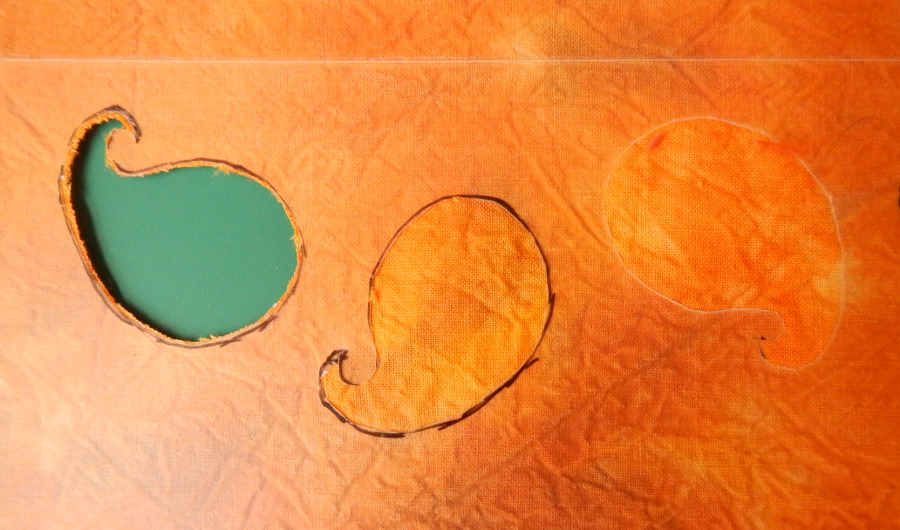 I stuck the fabric and the plastic backing together, and drew the motifs on the plastic and cut it away with a sharp blade before cutting the fabric away leaving the hole to stitch over. A zigzag stitch round the edge neatens it and catches the lines of stitching in place.
I was using a thread with two strands to it, one metallic and one viscose, which is usually quite good-tempered. The main problem I found is that the thread keeps snagging on the edge of the hole in the plastic, unlike stitching on pelmet vilene. Each time it snags, the metallic strand snaps which means re-threading. To try to avoid this I have to stitch really slowly and there’s alot of re-threading of the needle, so progress is slow.
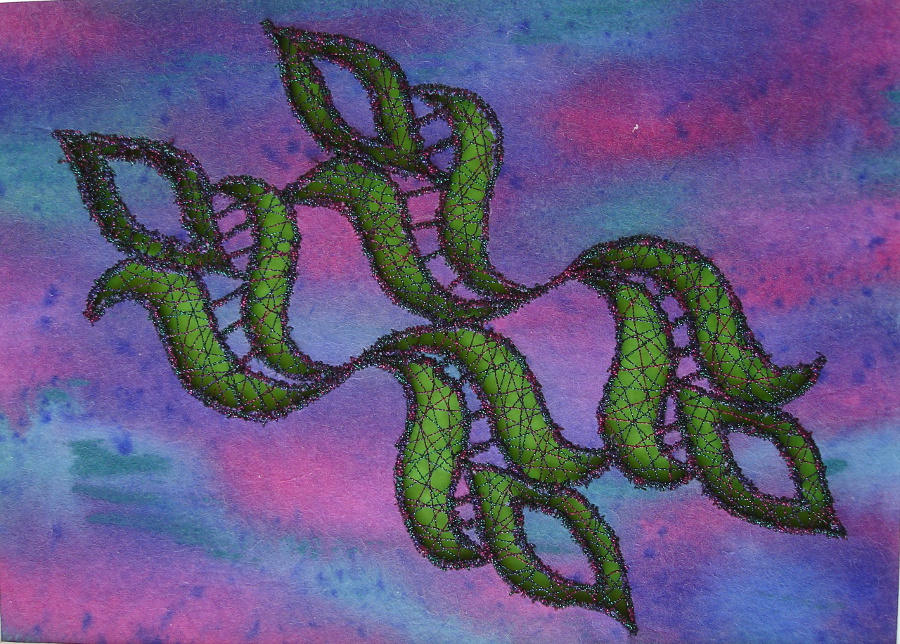
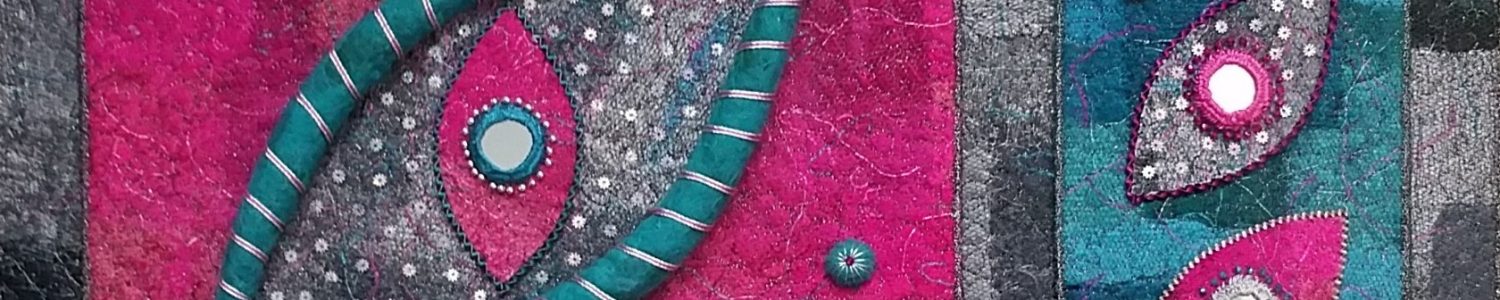
I’m not happy with the quality of the stitching, which is abit ragged compared to the purple and green sample here that was done on pelment vilene. I think it would be better to use a more slippery thread. Another improvement would be to do the stitching in the fabric first, before sticking it to the backing, and just cut the holes in the plastic wider than the holes in the fabric so that the plastic edges are concealed behind the zigzag edging. I’ll add some photos later on when it’s finished, but thought I’d add it now as ‘work in progress’ in case anyone has any suggestions of a better way to do it.